Apple has purposefully built many accessibility features into their devices to improve the experience for a wide range of users. Some of the accessibility resources described below are native to the MacBook and some are Chrome extensions that students can download. This is not an exhaustive list. The focus of this article is identifying specific language and reading supports. For a complete breakdown of accessibility features on the MacBook, visit the Apple links at the bottom of this page.
Translation
How to Add or Change the Language Your MacBook Uses
If you add a language (or change the primary language) on your iPad, you can have text translated and read to you in that language. There is an extensive list of language options from which to choose.
Safari
In order to translate English to another language in your Safari web browser, you must first add a second language in System Preferences. Then, if a website can be translated, the address bar will display the Translate button. Click that button to see a translation. You can also edit your preferred language using the Safari Translate button.

Chrome
Most students work in Chrome on a regular basis, so it is good to know what options are available. Google Translate is a very powerful tool that can be used in two ways in the Chrome browser. Google Translate also currently supports translation of 133 languages.
Google Translate (website)
On the Google Translate website you will see several options for translation source: text, images, documents, websites. The text option also includes spoken translation; just click on the microphone to translate by voice. Translations can be copied, favorited, and shared. Images and documents can be uploaded from your computer, and website URLs can be copied and pasted.
Google Translate Chrome Extension
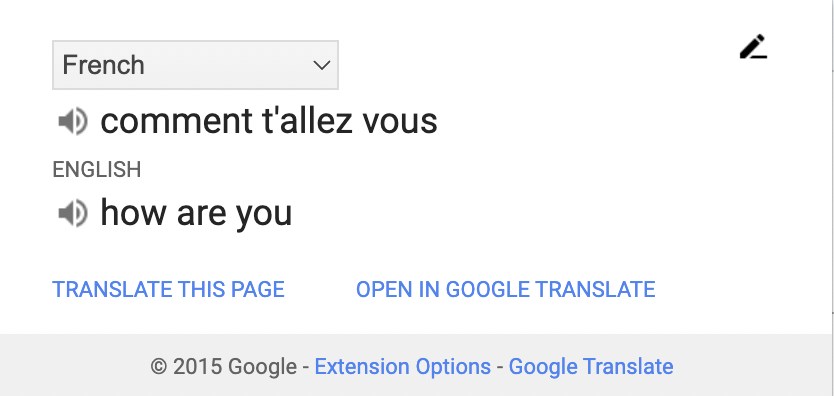
Once you have installed the Google Translate Chrome Extension, you can click on it to open a small pop-up. You have the option of typing or copy/pasting text to be translated or choosing to translate the website you are on. You can toggle languages within the pop-up.

Text-to-Speech
Speak Selection
If you turn on Speak Selection, you can have your Mac speak text by pressing a keyboard shortcut. Go to System Preferences>Accessibility>Spoken Content to customize your settings. Learn more about how your MacBook can read text to you:
Natural Reader
Natural Reader is a Chrome Extension and Web App. Natural Reader can be used with any website or document, including Google Docs. Natural Reader will read text aloud and highlight the words being spoken so students can follow along. it also supports magnification of text and allows a selection to be downloaded and read offline. Natural Reader can also read translated versions of a text selection, but currently supports only 20 languages.
Immersive Reader
Immersive reader is a tool developed by Microsoft that can read the screen for you and change the size of text to make it easier to read yourself. Immersive Reader can also highlight different parts of speech to increase accessibility of texts. Immersive Reader is already built-in to Canvas pages and assignments. Students can also add the Immersive Reader Chrome Extension to use on any webpage.
Website Readability
Both of these tools strip away ads and distractions from a website, leaving only text and images. This is particularly useful when reading news articles on sites like CNN and other busy websites. Both tools allow you to change the font size and font (serif or sans) as well as the background color (light or dark mode).
Safari Reader
Safari Reader can be accessed by clicking the Reader button in the left side of the browser window when in Safari.
Postlight Reader Chrome Extension
Postlight Reader can be accessed by clicking on the icon in the browser toolbar once the extension is installed.
Using Chrome Extensions
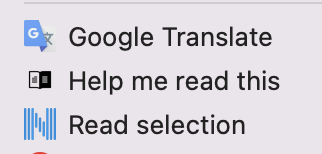
After you highlight text you can right click (two finger click) on the selection to view options available to you based on installed Chrome extensions. Click on “Google Translate” to open selection in the Google Translate website. Click on “Help me read this” to launch Immersive Reader or “Read selection" to launch Natural Reader.

Additional native (built-in) accessibility features support users with vision, motor, hearing, and learning needs. You can turn those options on or off and create shortcuts to use them by going to System Preferences>Accessibility on the MacBook.